Grab my blinkie

Monday, March 11, 2013
 FTU TUTORIAL SHAKE YOUR SHAMROCKS
Hey guys well i have a tutorial up for you using one of my st patricks day templates called shake your shamrocks and a using FTU scrapkit called kiss my shamrocks by melissaz creationz

Click on stripes layer
Magic wand tool
Hold shift and click inside top and bottom stripes
Copy and paste paper of choice as a new layer
Selections - invert - hit delete
Selections - select none
Click on shamrock frame 1
Selections - select all - float - defloat
Layers - new raster layer
Flood fill with #8fab1f
Adjust add/remove noise
Uniform 100%
Monochrome ticked
Select none
Delete shamrock frame 1

FTU SHAKE YOUR SHAMROCKS

This tutorial asumes you have a working knowledge of psp
Template is by me and you can grab it HERE
Scrapkit is FTU Kiss my shamrocks by melissaz creationz you can get that here at
Template is by me and you can grab it HERE
Scrapkit is FTU Kiss my shamrocks by melissaz creationz you can get that here at
http://melissazcreationz.blogspot.co.uk/search/label/St%20Patricks%20Day
Please leave sum luv when downloading
Tube is by Dominic Marco i got mine at CILM which is now closed. you must have a licence to use his artwork.
His work can be found here http://dominicmarco.blogspot.co.uk/p/store.html
Okie dokie lets begin
Please leave sum luv when downloading
Tube is by Dominic Marco i got mine at CILM which is now closed. you must have a licence to use his artwork.
His work can be found here http://dominicmarco.blogspot.co.uk/p/store.html
Okie dokie lets begin
Open up Template
Shift+d to duplicate
Close the original
Delete white bg layer
Shift+d to duplicate
Close the original
Delete white bg layer
Click on stripes layer
Magic wand tool
Hold shift and click inside top and bottom stripes
Copy and paste paper of choice as a new layer
Selections - invert - hit delete
Selections - select none
Back on stipes layer - magic wand tool
Hold shift and click inside the middle stripes
Copy and paste paper of choice as a new layer i used raster 3
Selections - invert - hit delete
Selections - select none
Delete stripes layer and merge together stripes you have just made
Hold shift and click inside the middle stripes
Copy and paste paper of choice as a new layer i used raster 3
Selections - invert - hit delete
Selections - select none
Delete stripes layer and merge together stripes you have just made
Click oval layer
Magic wand tool
Click inside oval
Copy and paste paper of choice as a new layer i used raster 1
Selections - invert - hit delete
Click back on oval bg layer and delete
Click on shamrock bg1
Magic wand tool
Click inside
Open up your tube and copy and paste as a new layer
Move into position you may need to resize your tube, use my tag as a guide
Selections - invert - hit delete
Selections - select none
Layers - duplicate - mirror-
Delete shamrock bg 1 and 2
Merge together tube layers
Apply Xero raidiance have a play with settings
In your layers pallete apply luminance
Magic wand tool
Click inside oval
Copy and paste paper of choice as a new layer i used raster 1
Selections - invert - hit delete
Click back on oval bg layer and delete
Click on shamrock bg1
Magic wand tool
Click inside
Open up your tube and copy and paste as a new layer
Move into position you may need to resize your tube, use my tag as a guide
Selections - invert - hit delete
Selections - select none
Layers - duplicate - mirror-
Delete shamrock bg 1 and 2
Merge together tube layers
Apply Xero raidiance have a play with settings
In your layers pallete apply luminance
Click on shamrock frame 1
Selections - select all - float - defloat
Layers - new raster layer
Flood fill with #8fab1f
Adjust add/remove noise
Uniform 100%
Monochrome ticked
Select none
Delete shamrock frame 1
Click on shamrock frame 2
Selections - select all - float - defloat
Layers - new raster layer
Flood fill with #39905b
Adjust add/remove noise
Uniform 100%
Monochrome ticked
Select none
Delete shamrock frame 2
Selections - select all - float - defloat
Layers - new raster layer
Flood fill with #39905b
Adjust add/remove noise
Uniform 100%
Monochrome ticked
Select none
Delete shamrock frame 2
Open up tube
Copy and paste tube, position
Apply Radiance settings 109, 73,249, 148 or which ever settings you like
Copy and paste tube, position
Apply Radiance settings 109, 73,249, 148 or which ever settings you like
Now we are going to add some elements
Copy and paste raster 10 the rainbow
Mirror and rotate it a little and place like mine
Move layer to the bottom
Copy and paste raster 10 the rainbow
Mirror and rotate it a little and place like mine
Move layer to the bottom
Copy and paste raster 13
place on top of bottom stripe like mine
place on top of bottom stripe like mine
copy and paste raster 16 lip resize 70%
Add any other elements you like
the ones i added were
Raster 24 lipstick
Raster 6 cup cake
Raster 2 lollypop
Raster 28
Raster 12 glitter
and thats it Add your name and copyright, merge layers and save as a png
Thanx for trying my tutorial i would luv to see your results.
Add any other elements you like
the ones i added were
Raster 24 lipstick
Raster 6 cup cake
Raster 2 lollypop
Raster 28
Raster 12 glitter
and thats it Add your name and copyright, merge layers and save as a png
Thanx for trying my tutorial i would luv to see your results.
This tutorial was written by Mehndi on the 9th march 2013
any simularity to any other tutorial or tag is purely coinidental.
any simularity to any other tutorial or tag is purely coinidental.
Thursday, March 7, 2013
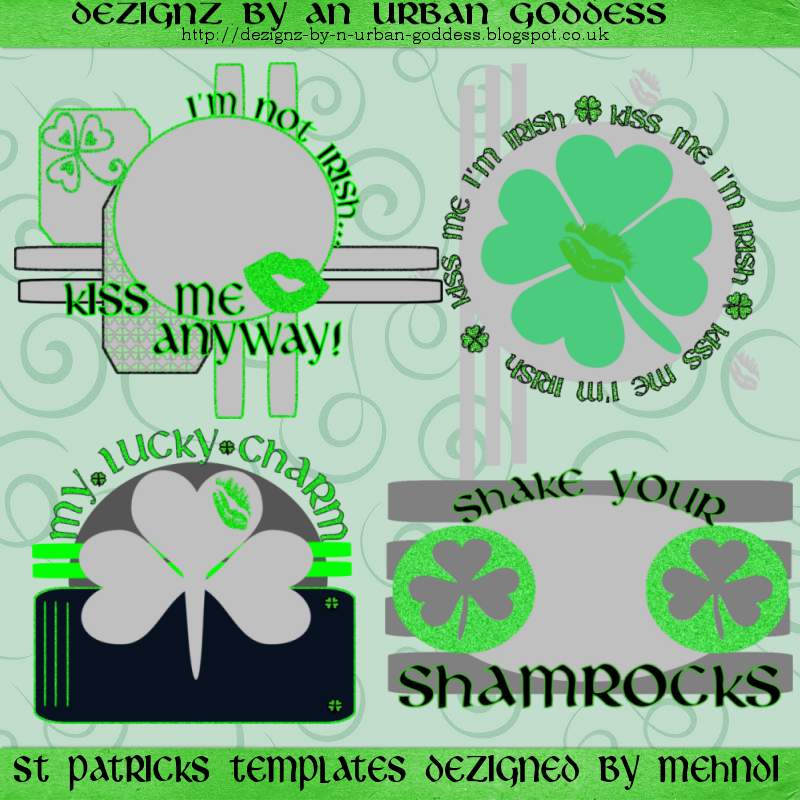
Freebie st patricks day tag templates
Hi here are those templates hope you like them they are ftu so you are welcome to use them for challenges etc as long as you send them here to download off to work soon but i might have something else to put up later .....Hugggs Mehndi x
 Download HERE
Welcome to my new blog x
Oi Oi peeps,welcome to my new blog well ive finaly got this blog up and running and im so pleased with how it looks thanx to Tammie from addictive pleasures for designing the layout for me i luv it luv it luv it !
anyways i have a freebie for you its a set of 4 st patricks day tag templates that was dezigned by mwah if you download be nice and leave a lil luv ....hugggs mehndi
anyways i have a freebie for you its a set of 4 st patricks day tag templates that was dezigned by mwah if you download be nice and leave a lil luv ....hugggs mehndi
Subscribe to:
Posts (Atom)
Places where i hang x


My CU Licences